Guides
Reading-room walkthrough
A worked example of a free Blender AI plugin in Claude Code, with a scene brief, three camera views, and practical review steps.
Start with the result
This reading room was created with Claude Code and Sonnet 5.5 using Blender Agent Studio's skills and bundled scripts. It is one selected example from the paired gallery, which also keeps failed checks and mixed visual results. The run did not use the optional MCP tools.
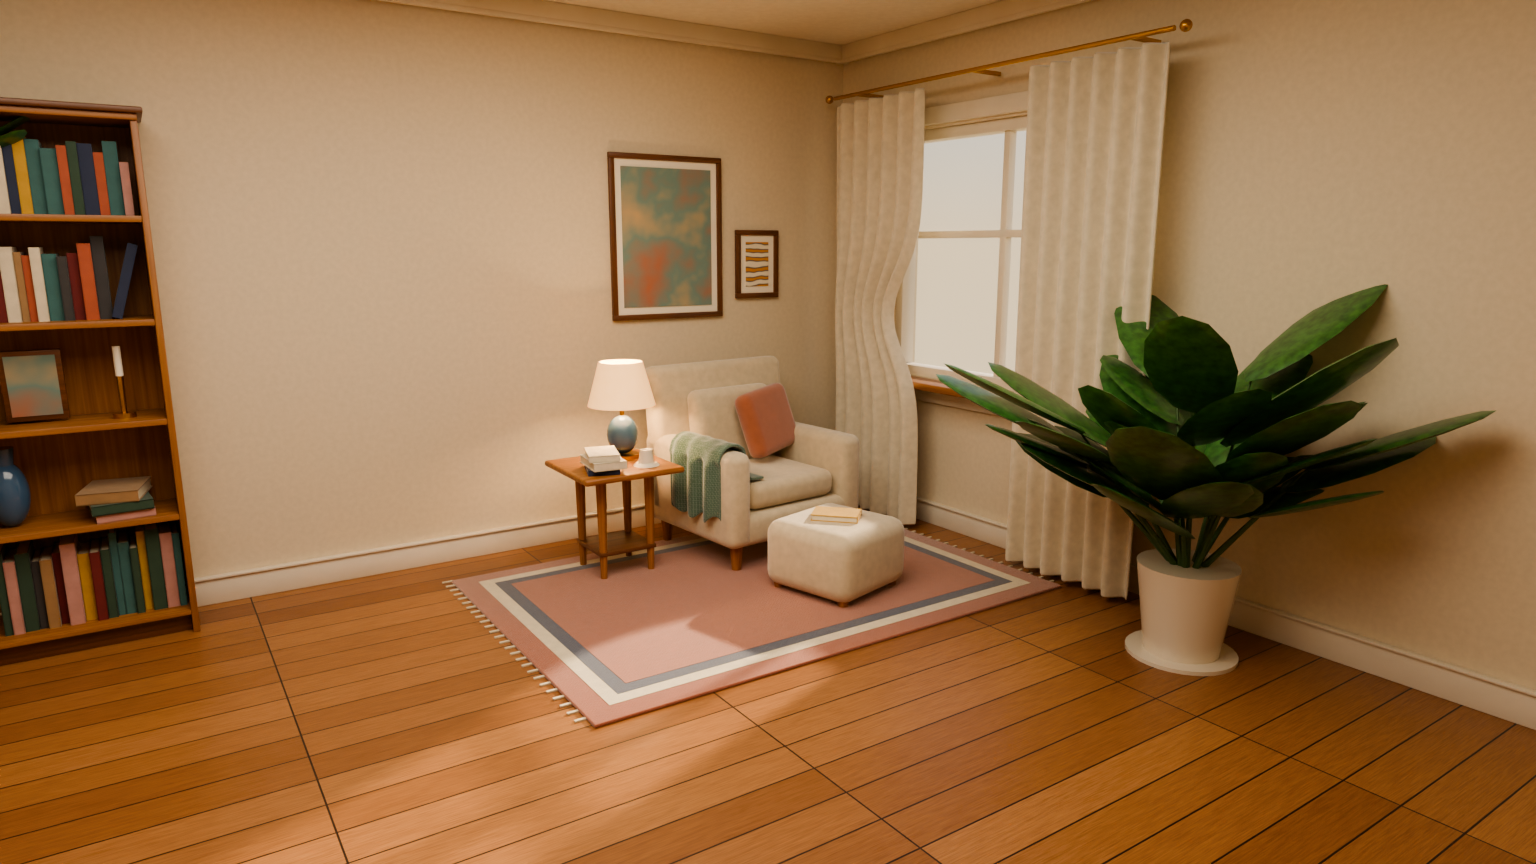
The preview is an HD render of the saved scene through its authored camera and
lighting. The editable .blend and Python build script are the working files.
You can revise those files in Blender or continue through your agent.
Give the agent a usable brief
After installation, open a fresh agent session and describe the scene, intended use, and files you want. The plugin loads into the agent host; Blender runs locally to build and inspect the scene.
The original room brief specified the size, materials, two furnished zones, lighting, supporting surfaces, and clear walking routes. Here is an adapted prompt you can try in either supported host. It omits the original benchmark's machine-specific paths and evaluation instructions:
Use Blender Agent Studio to create a complete 6 x 5 meter reading-room
interior for a portfolio render.

Use warm oak, linen, aged brass and plaster, with late-afternoon window
light balanced by a practical lamp.

Furnish a reading nook with an armchair and cushion, side table, lamp,
books, rug and plant. Add a separate desk area with a chair, stationery
and shelving. Finish the walls, window frames, curtains and trim.

Arrange decoration in purposeful clusters with negative space and a
readable focal area. Give the reverse side and shelves the same finish
intent. Furniture and small objects should meet their supporting
surfaces; cloth should have credible thickness and folds. Keep a clear
route between the door and both work areas.

Author three cameras: SceneHero for the complete composition,
SceneReverse for the opposite side and secondary zones, and SceneDetail
for a furnished secondary area. Use the scene's own lighting and keep
architecture from occluding the views.

Build, inspect and refine the scene. Save create_asset.py, asset.blend
and a short report, and render the three views. Make dependencies
reproducible or pack them into the scene. No GLB export is needed for
this render-only project.
This is a prompt to explore, not a way to recreate the pictured room exactly. The model, host, plugin revision, and revisions during the task can change the result. Start with the smaller first project if you are checking your installation or working within a limited agent budget. The plugin is free; your chosen agent provider's usage costs still apply.
Inspect more than the hero camera
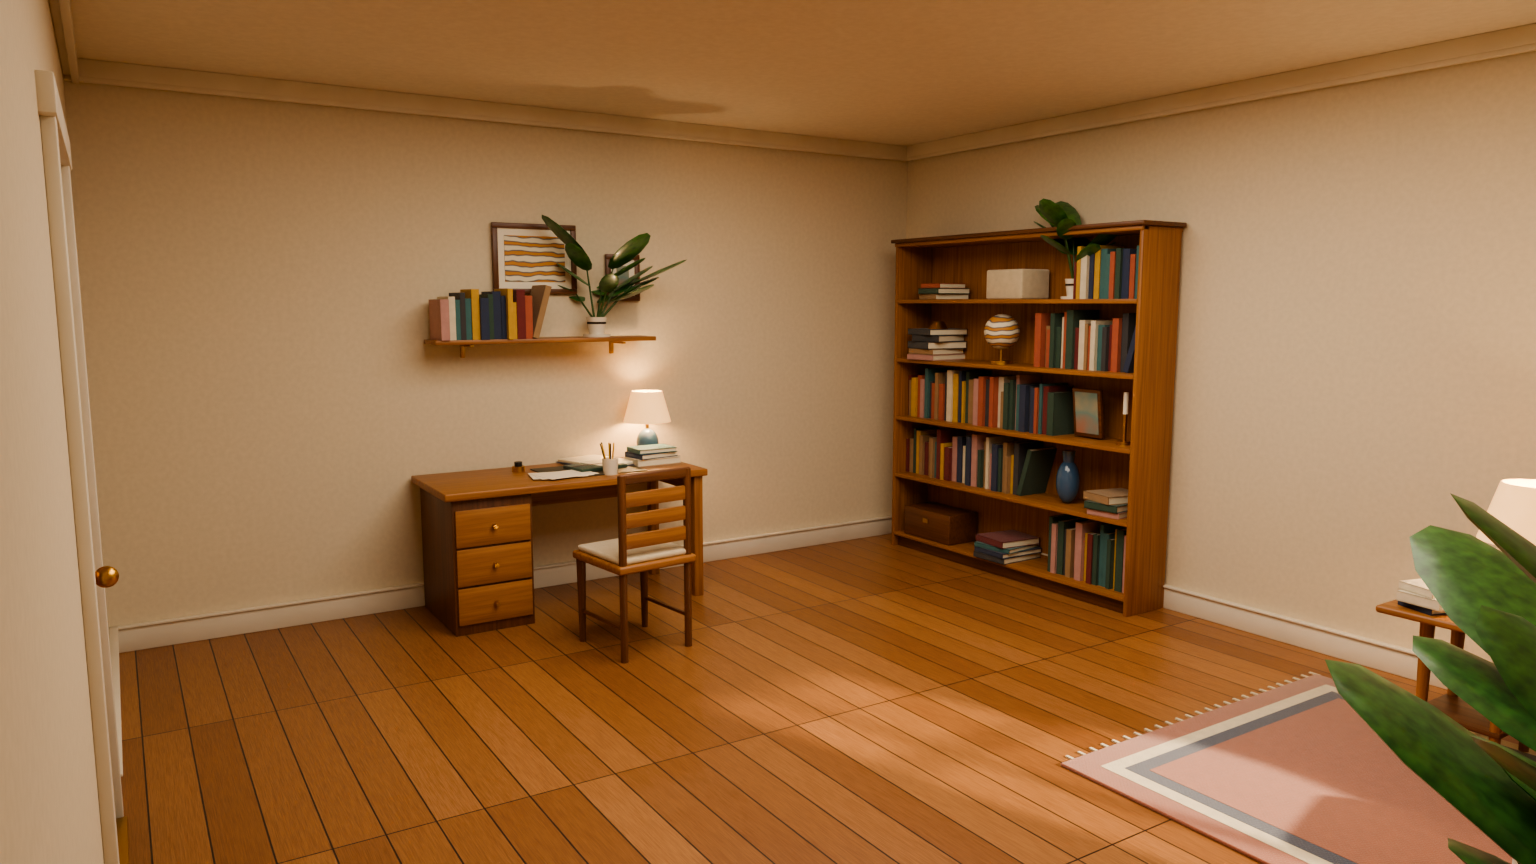
The reverse view reveals the desk and shelving. It helps you check whether secondary areas received the same attention as the reading nook.
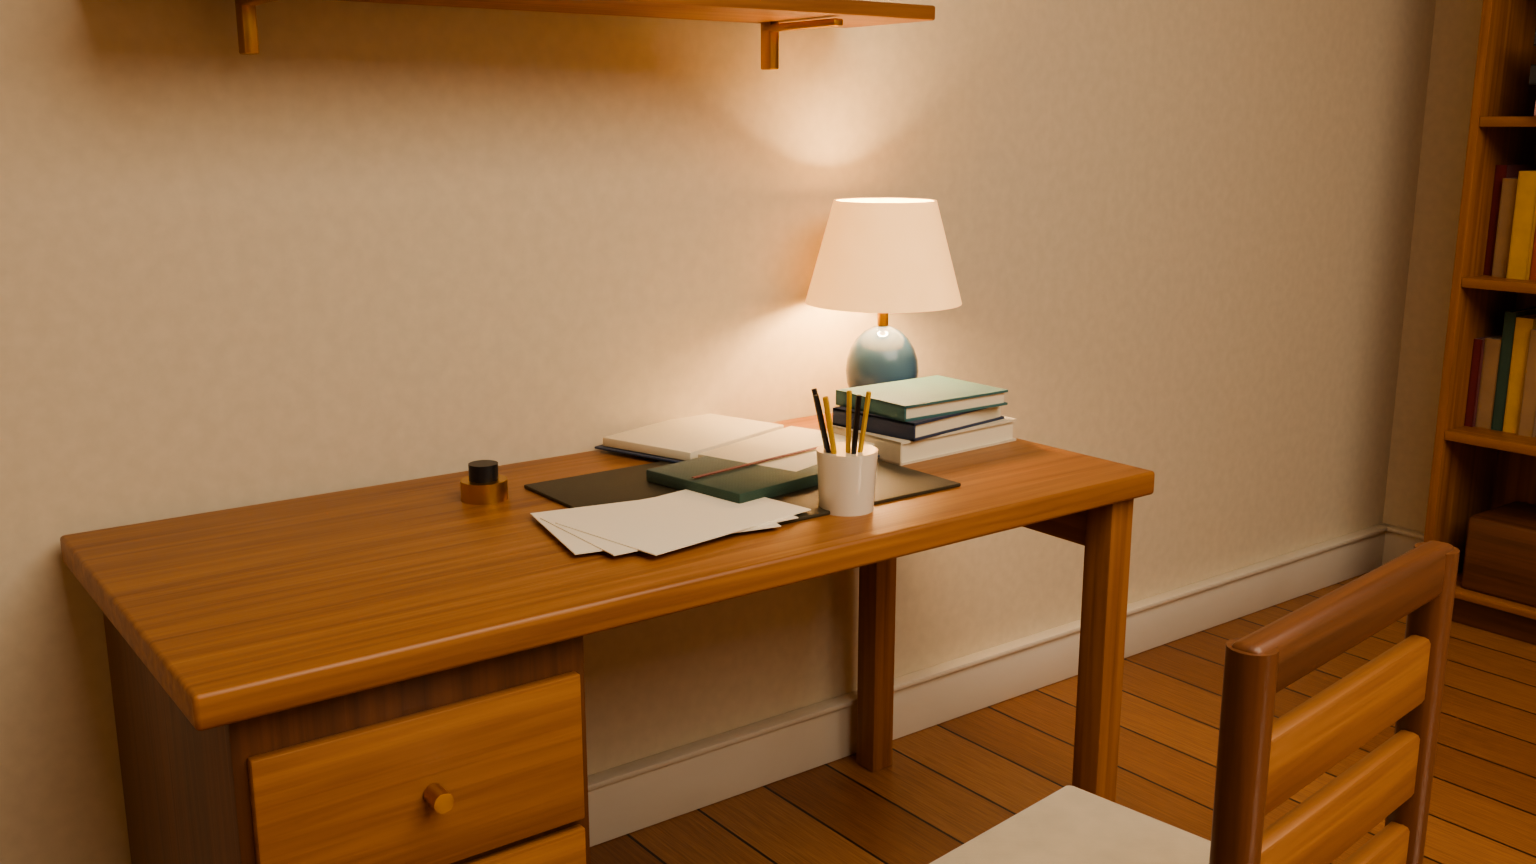
The detail view makes supports, small objects, and material responses easier to inspect. A wide view can hide floating books, intersections, and noisy surface detail.
| Review | What to look for |
|---|---|
| Brief | Both work areas, requested furniture, and architectural finish are present. |
| Composition | The focal area is readable and decoration leaves useful negative space. |
| Placement | Furniture, books, lamps, and plants meet the surfaces supporting them. |
| Materials | Wood, cloth, metal, and plaster respond differently at a sensible scale. |
| Lighting | Highlights retain detail and secondary areas remain readable. |
| Delivery | The saved scene opens and required textures or dependencies are available. |
Technical checks and visual review answer different questions. A passing geometry check does not establish convincing materials or composition. Open the images and scene before accepting the result.
Revise a specific problem
Point to the file or camera and name the change. For example:
Inspect SceneReverse in the existing asset.blend. Check whether the desk chair has a usable position and the books meet their shelf. Repair any gaps or intersections you find, update the Python source, and render that view again.
This is a suggested review request, not a claim that the pictured scene has those defects. Keep the previous files and images so you can compare the revision, including parts that should remain unchanged.
Compare and share
Use the gallery to compare this task across models and conditions. The published scene report records the controls, scores, visual votes, and limitations.
If you try the workflow, share an example with your prompt, host and model, Blender version, and a render. Include the build script when you can, and describe any step that got in your way.